
Duckfone Quick Start Guide
This guide applies to the Duckfone 4.
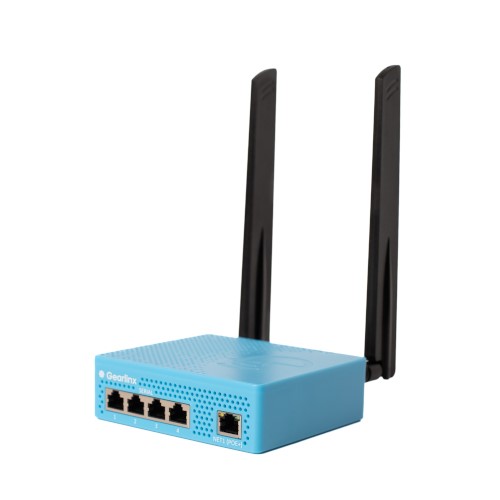
1. Check the kit contents
- Duckfone 4 hardware appliance
- 2 x LTE Antennas
2. Assemble and attach the hardware
- Attach the LTE antennas to the Main and AUX connectors
- Insert an activated and data ready SIM (2FF)
- Connect the Net1(POE+) via Ethernet to a power over ethernet injector port (for power).
- Attach normal cables (straight) as needed to the serial ports for any devices you wish to remotely manage
3. Connect to the device
- If using a cellular connection or if your network provides internet connectivity you can continue your online setup via ZERO. This is our highly recommended approach.
- If not configuring via ZERO:
- When a Duckfone device is taken out of the box, its NET1 port will be configured in "passthrough" (DHCP server) mode and the data side of your POE injector will "pass through" and hand out the cellular IP address to any connected device.
- Alternatively, the device will advertise its hostname using Multicast DNS (mDNS). This means that it will be accessible on the local network via hostname.local, where hostname is the devices model, followed by its Serial number. For example: duckfone-4-0111223001051, where the model is Duckfone 4, and the serial number is 0111223001051.
- You can access the host via either https or ssh.
- Gearlinx devices also support IPv6. If DHCPv6 or SLAAC is operational on the network, then the device will acquire and IPv6 address via either protocol, and advertise that via mDNS, or it will advertise its link local IPv6 address.
- Default username is "admin"; Default password is printed on the Duckfone label on the base of the unit. Username and password are case sensitive.